
Where the oil flows and how to change the valve: everything you need to know about the VVT solenoid
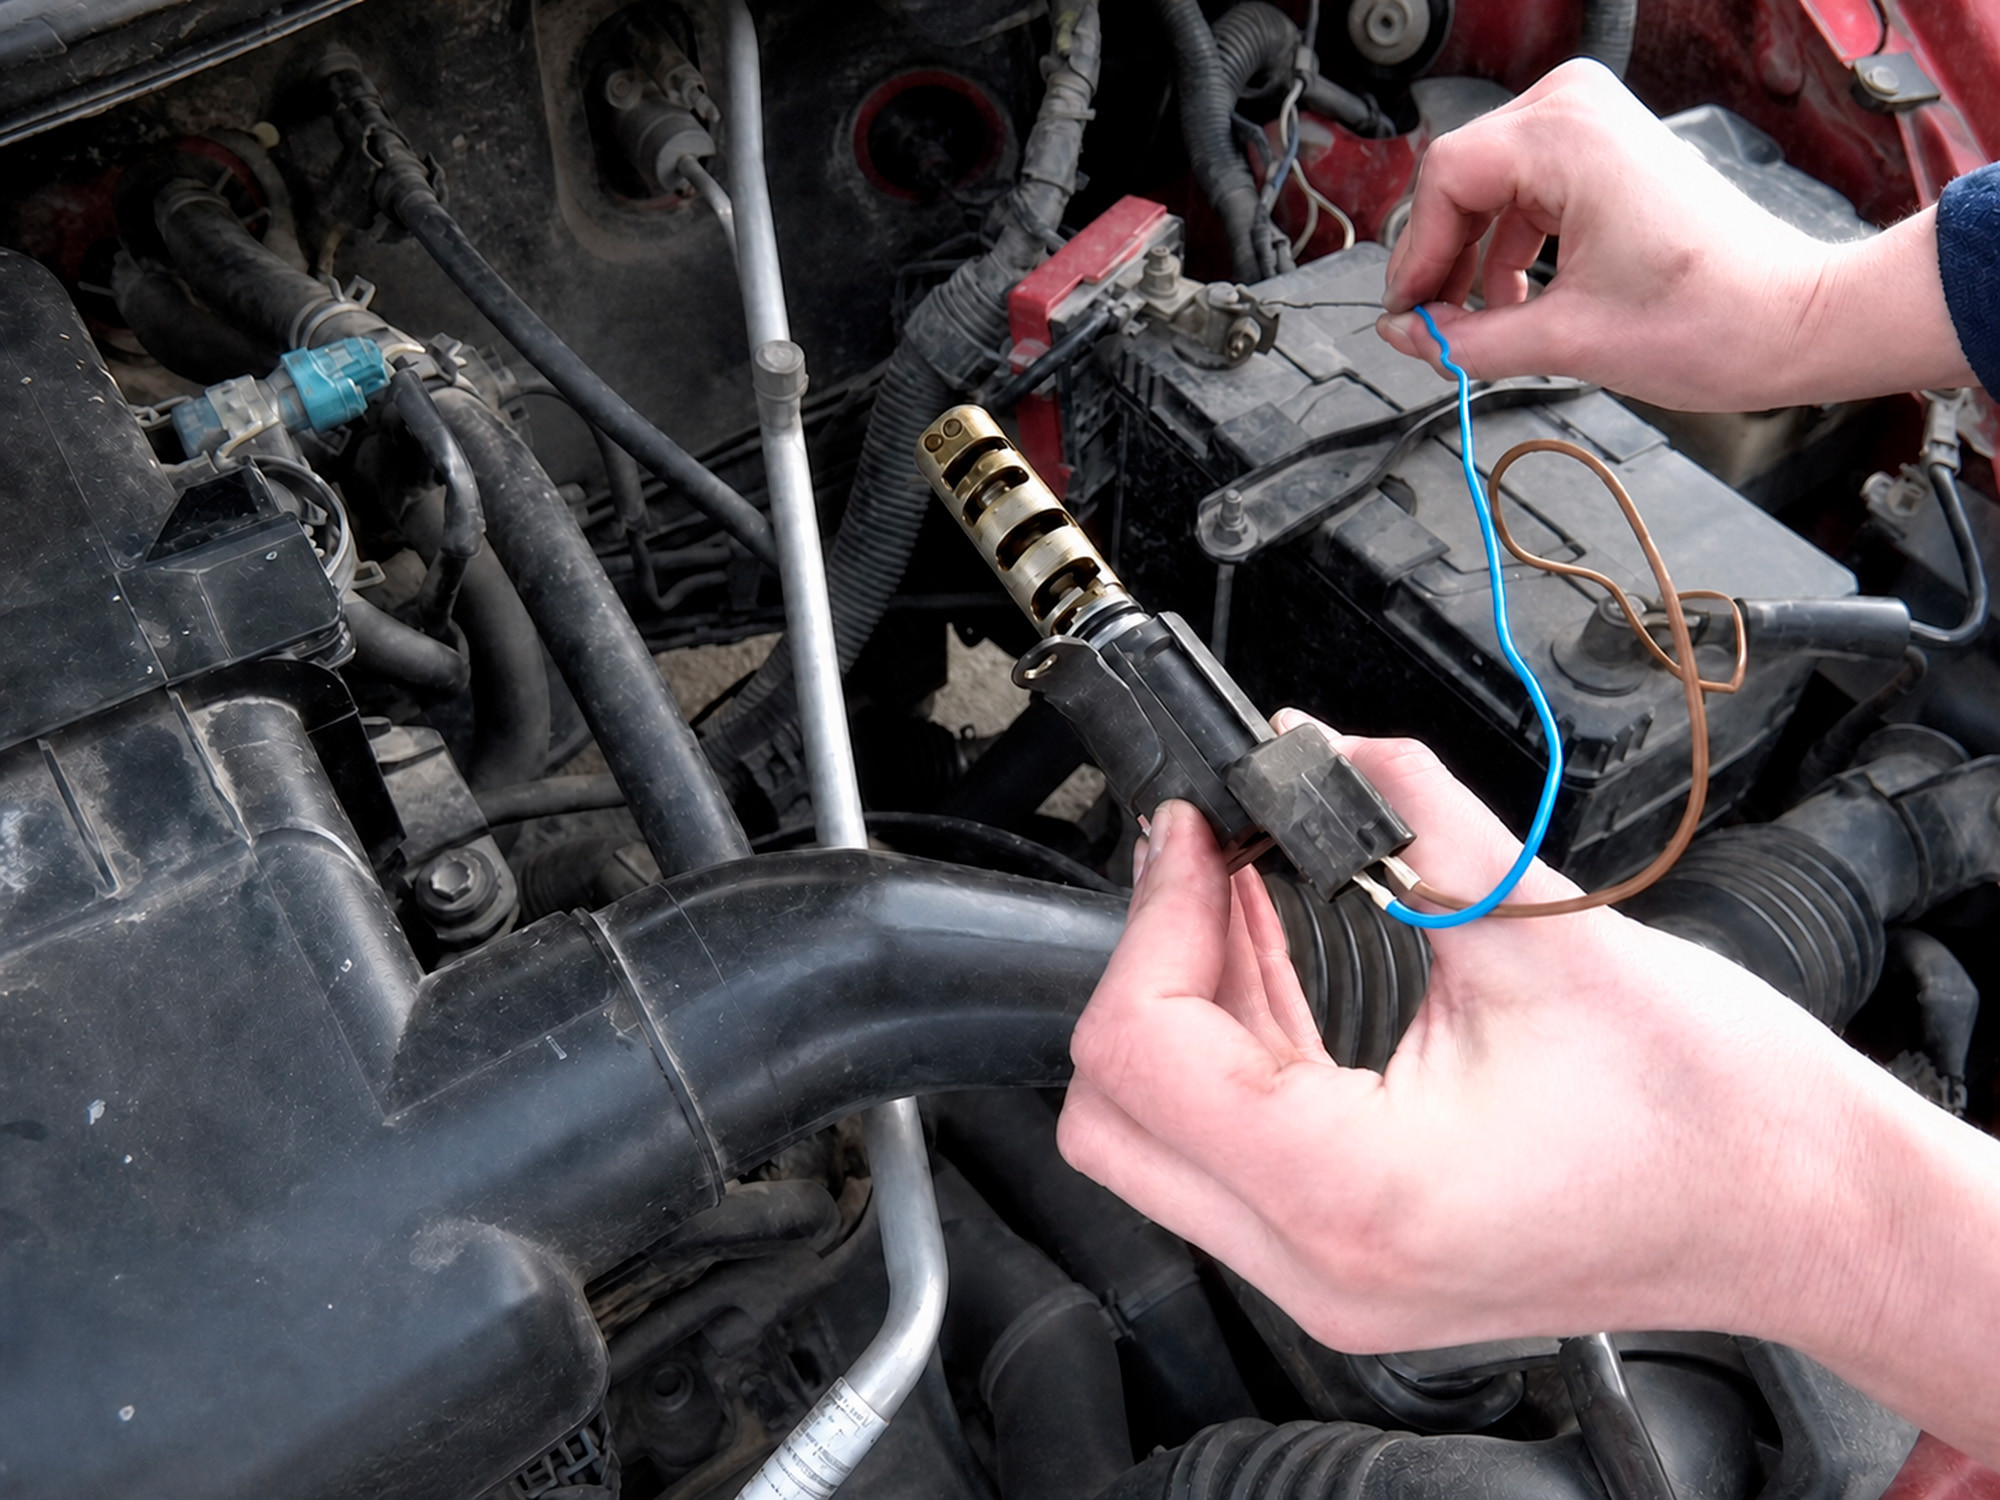
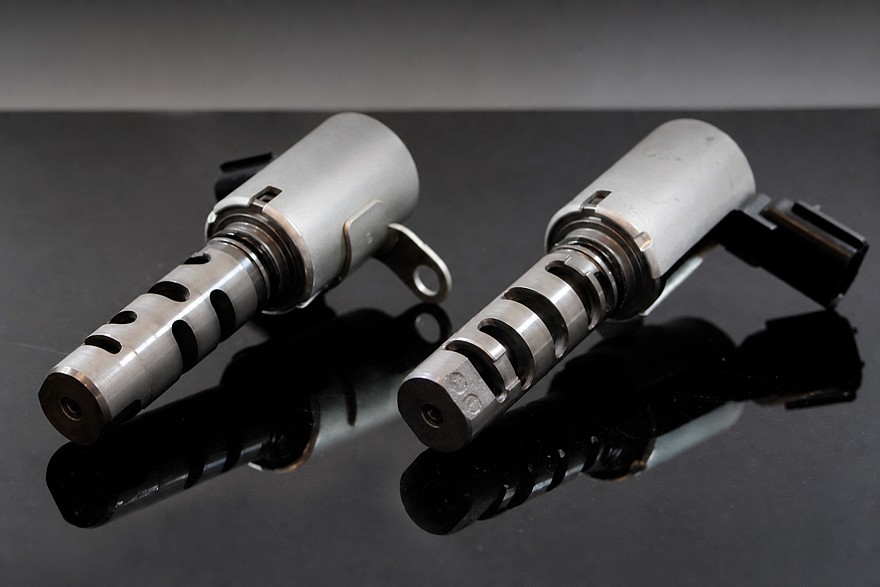
The VVT solenoid valve, also known as the VVT solenoid, is one of the key components of the variable valve timing system. It is like a traffic controller on a motorway: it too has to manage the flow, taking responsibility for its intensity and movement, except in its case the flow is not of cars but of engine oil, which powers the actuators. Accordingly, if something goes wrong with the controller's behaviour, if it stops carrying out its duties correctly, failures can begin in the operation of the entire assembly as a whole. What these failures are, how they manifest themselves and how they are diagnosed, we will explain in our article.
The valve is the be-all and end-all
Without wasting time on a repeat description of the variable valve timing system, which can be found here, let us note straight away that the VVT solenoid is engaged in an extremely important task: receiving the appropriate commands from the engine control module (ECM/ECU), it directs pressurised engine oil into specific chambers of the phaser. This changes the angle of the camshaft position. As soon as the required angle (optimal for particular conditions and modes, according to the ECM) is reached, the valve shuts off the oil flow, and the camshaft remains firmly locked in its new position.
At moments when maximum power output is required from the engine – for example, during acceleration – the valve regulates the flow so that the valve train operates with greater efficiency. And during steady cruising, it executes the maximum fuel economy scenario, the algorithm for which is sent to it by the same control module.
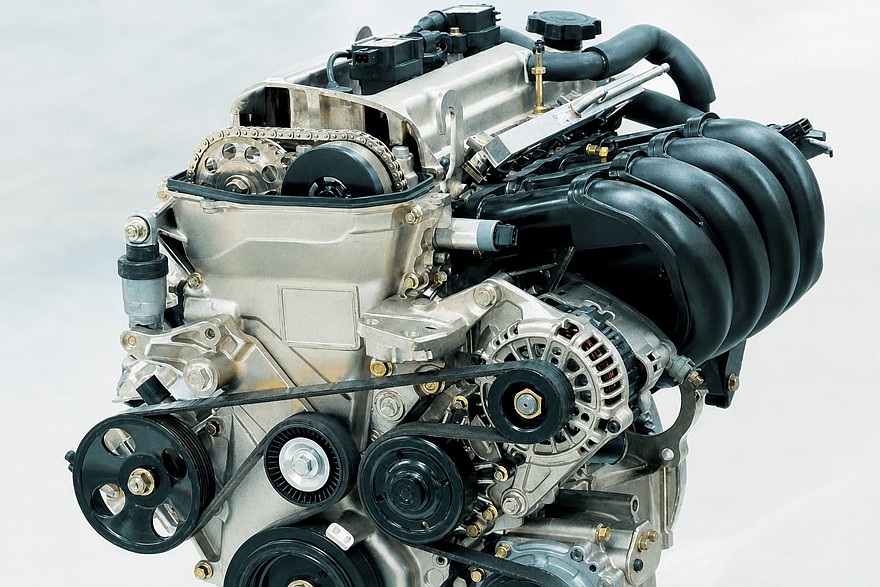
In the end, by optimising valve timing for various driving modes and conditions, a properly functioning solenoid ensures fuel savings. As a consequence, it also reduces exhaust emissions. And when necessary, it helps achieve short-term or sustained increases in engine performance.
But for this entire balanced system to work perfectly, the valve must respond immediately to the control commands from the ECU. Because any delay, even of a tenth of a second – and we all know that the combustion process takes on average 0.01–0.002 seconds – will have a dramatic effect on the operation of the variable valve timing system and lead to various disruptions and malfunctions.
On modern vehicles there may be several VVT solenoids – their number is directly related to the number of phasers. They are typically mounted on the cylinder head.
Reliable, but these things happen
The VVT valves used today are fairly reliable components and are not classed as items requiring scheduled replacement. They typically last for tens of thousands of miles, and only as they approach the 200,000-mile mark do they begin to fail due to natural wear. Although there are known cases where valves have outlived the entire engine's service life.
However, all this is typical of situations in which nothing unforeseen occurs. When periodic servicing is carried out meticulously and exactly on schedule, and the materials and technical fluids used are ideal, high-quality products.
Such situations in real life, as you well understand, are rare. More often, some absurd force majeure or mistakes occur even with the most careful treatment of your four-wheeled pride and joy. Perhaps some "dodgy" oil was used, or you filled up with questionable fuel at a petrol station, or a filter was fitted crookedly, or something else – and in the end, the solenoid meets its demise. Although demise is already an extreme scenario; usually all these things lead to malfunctions.
Among the most common causes that make the control valve start "playing up", the following can be mentioned.
Firstly, old or contaminated engine oil. Losing its properties and becoming filled with foreign impurities, it thickens or thins out, clogging the valve's fine passages with dirt and sludge. As a result, even a physically sound solenoid malfunctions and then becomes completely blocked. But there is good news: in most cases, after a thorough cleaning, it can be brought back to life.
The second cause is a low engine oil level. When there is insufficient oil, the valve cannot, by definition, perform its duties correctly. Also worth including here is wear of seals, oil seals and other similar components, leading to engine oil leaks.
Next comes another "oil-related" cause, indirectly linked to the first two. This is a contaminated or clogged oil filter. If it prevents oil from flowing properly into the VVT system, or if it releases dirt into it, the solenoid will not be able to work correctly, no matter how much it might want to.

Far less common are electrical problems, damaged wiring, poor connections, corroded connectors, or issues with the electrical part of the solenoid itself. Due to disrupted communication with the control module, the valve will again be unable to work correctly, even if it is perfectly sound physically. Cases of manufacturing defects during valve production are also quite rare. But all of these can never be completely ruled out from the list of causes of failure of this component.
Nor should mechanical wear be forgotten. This is a natural process for any component, and regular oil changes and the use of impeccable-quality products recommended by the vehicle manufacturer help extend the solenoid's service life. Of course, there is no eternal life even for a VVT valve, and ultimately, like any other part, it will wear out, but delaying that moment is well within your power.
And finally – engine overheating. Constant exposure to high temperatures or sudden spikes leads to the destruction of valve components.
The "check engine" light and rough running
Now let us turn to the symptoms of a faulty valve.
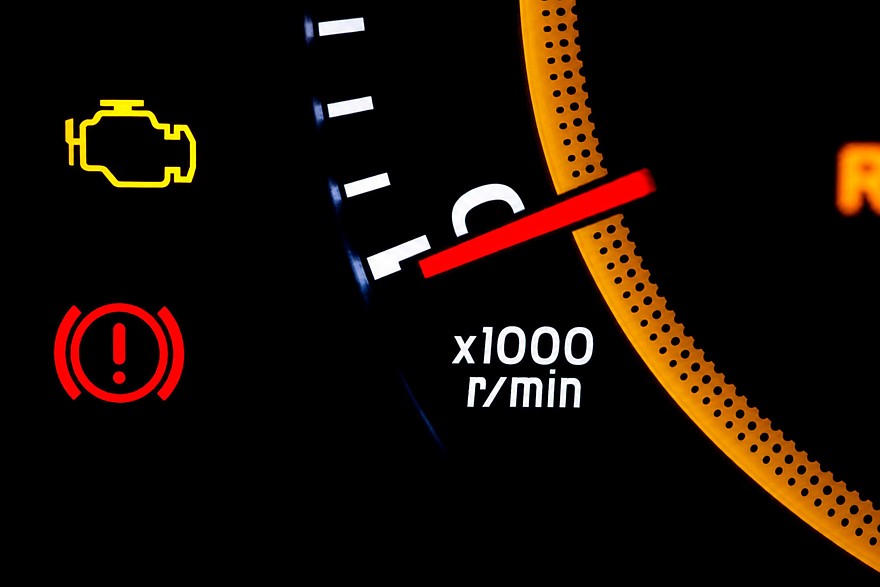
The Check Engine light comes on the dashboard. The variable valve timing system is one of the priorities for the engine control module. It therefore constantly monitors its operation. As soon as a problem is detected with oil pressure, the timing itself, or the electrical circuit, a signal is sent from the sensors, and the ECU activates the available protective algorithms. So with almost one hundred percent certainty, the warning light will illuminate, and one error code or another will appear in memory. Among the most common are P0010-P0013 and P0020-P0023, indicating synchronisation problems in the first and second banks, as well as P0024-P0026, indicating general system problems.
Engine misfires and rough running. Because the variable valve timing system cannot correctly execute its algorithms when there are problems with the valve, various disruptions occur in engine operation. Most often they manifest as a loss of performance and a general sluggishness of the vehicle. The car responds poorly (or inappropriately) to throttle input, takes longer than usual to build up speed, or even almost drops revs instead of raising them.
At idle, all sorts of irregularities can also occur. The engine runs unevenly, the tachometer needle twitches up and down, and the revs wander between 500 and 1,200 rpm. Sometimes unhealthy vibrations even occur, travelling through the entire body, steering wheel and seats. The reason is that, due to the faulty valve, the VVT system loses its ability to ensure the correct valve opening timing at low revs.
All these are typical consequences of camshaft synchronisation disruption, which manifest themselves across almost the entire operating range of the internal combustion engine.
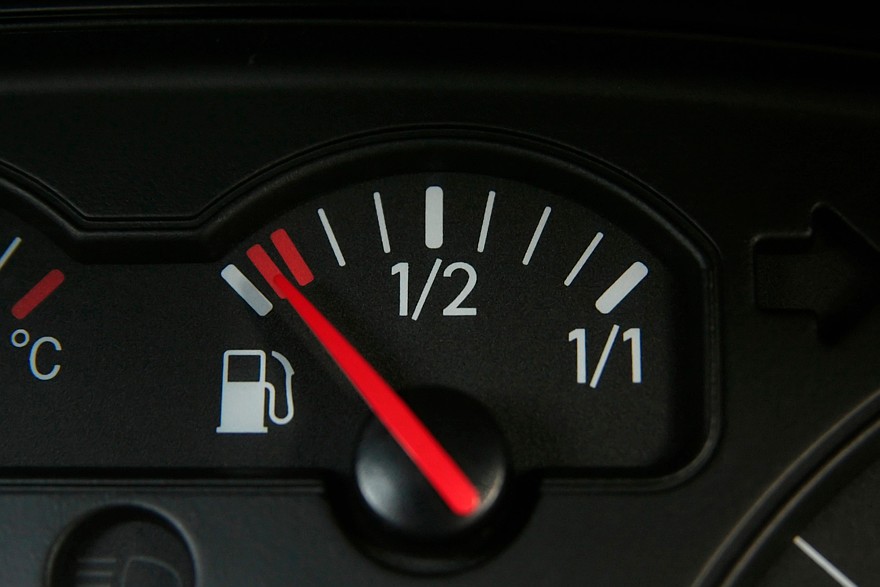
Increased fuel consumption. A consequence of synchronisation failures is also higher fuel consumption, since quite often the engine has to work harder or in less than optimal modes. Therefore, at the slightest suspicion, it is recommended to keep a closer eye on fuel consumption and respond promptly to any increase.
Admittedly, it is worth noting here that both increased fuel consumption and uneven engine running can be symptoms of a wide range of faults. Even so, for engines with variable valve timing systems, these are all key indicators pointing to a failure of the oil pressure control solenoid.
Detonation and misfires. Let us remind you that detonation is the spontaneous ignition of the air-fuel mixture before the spark plug delivers a spark. It often occurs in an explosive manner, damaging engine components. The VVT control solenoid can cause detonation when the valve timing is locked, so to speak, in an aggressive mode, leading to premature opening and closing of the valves. On the other hand, the exact opposite phenomena can also occur – misfires, when the mixture struggles to ignite or does not ignite at all.
Various cold start problems (starting after a long period of inactivity). Here there is a whole host of symptoms pointing to VVT valve faults. These include prolonged cranking before the engine catches, the engine chattering at elevated revs for longer than usual, unstable idling of a cold engine, and sudden stalling shortly after start-up. All this happens because the variable valve timing system does not receive the engine oil pressure necessary for correct operation. Moreover, on start-up, the thick oil together with the faulty valve prevents the camshafts from positioning themselves correctly.
Timing chain noise. Yes, the chain specifically, not the phaser sprockets. People often talk about the sprockets rattling due to a fault, but rarely remember that the chain can rattle or click because of the solenoid. Although they should, because the VVT solenoid's misdemeanours affect the timing chain hydraulic tensioner and, by causing pressure fluctuations, lead to the aforementioned noises.
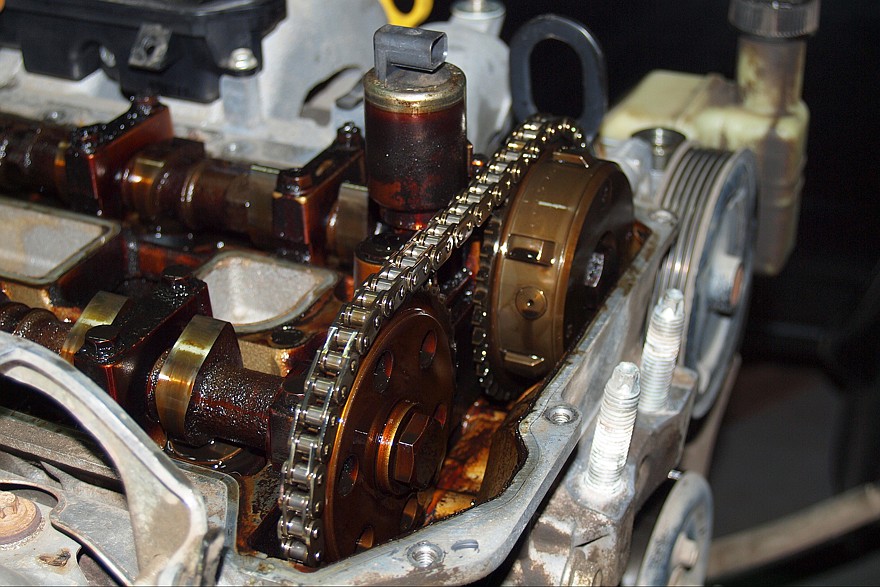
As a rule, they occur again on a cold engine and may subside as it warms up. But once they have appeared, they are unlikely to disappear on their own.
Oil leaks. This cause has been saved for last, because it is utterly banal and obvious. Since we have a hydraulic system, the correctness of its functioning is directly linked to its sealing. If that is compromised, trouble is unavoidable. That is, any engine oil leaks harm the VVT valve, but especially those directly associated with it. They can be detected by characteristic damp patches in the area of the solenoid or the variable valve timing actuator. Typically, the appearance of these "weeps" is caused by wear of seals or gaskets and can be resolved by replacing them.
DIY enthusiast
The variable valve timing solenoid valve is one of those components whose replacement (or removal for cleaning) is well within the capabilities of a car owner with minimal skills in using hand tools. As already mentioned, the solenoid is usually located on the cylinder head (less commonly – mainly on older models – on the valve cover) near the camshafts and is easily accessible for removal. Thus, by carrying out the work yourself, you can save a few thousand roubles, which is typically charged for replacement at a service centre.
To perform the operation, you will need a basic set of sockets and extensions, most likely a screwdriver, definitely a torque wrench, a container to collect the oil that drains out, rags, wipes and cloths to maintain cleanliness, a new solenoid and a new seal.
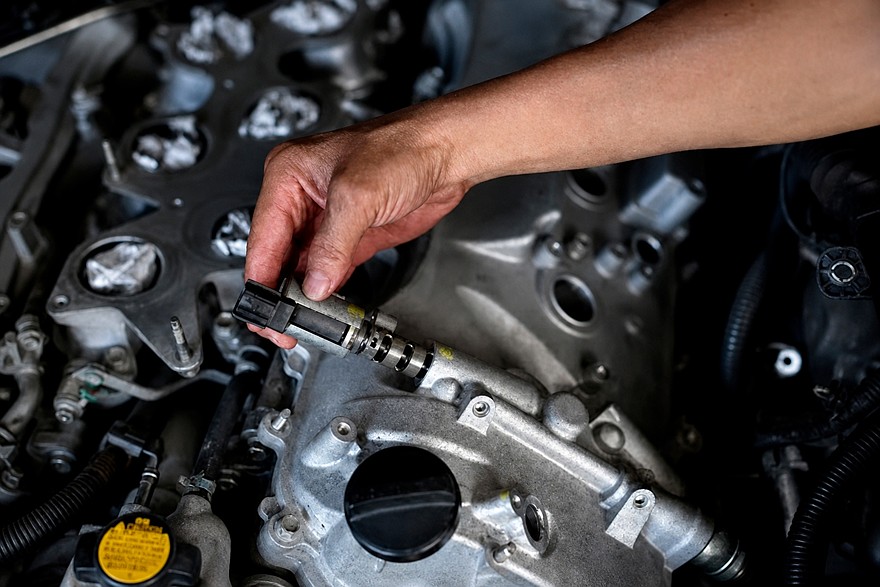
The first step is to disconnect the battery power. Since you are dealing with an electromechanical device, it is not worth taking risks with electricity. Then disconnect the solenoid connector. Proceed carefully so as not to damage the wires – you will still need them along with the connector for connecting the new part. Bear in mind that most connectors have a locking tab that is released by pressing on the clip.
Undo the fasteners – most often one or two screws (but there can be more – for example, on a Volvo S80 with a B5244S engine there are four of them). Try not to drop the screws into the engine bay.
Now carefully remove the solenoid. Inspect it closely – it is quite possible that the valve is simply clogged and, after cleaning, can return to service. Check the mating surfaces on the valve and the engine – all old seals must be replaced with new ones, and the surfaces themselves must be thoroughly cleaned. Using a long screwdriver, remove all debris from the mounting recess. And again, let us remind you: your main companion is care and attention.
Once all the hygiene measures have been completed, install the new (or cleaned old) valve. It may go in tightly, but do not force it – insert it with a twisting motion and light pressure. It would be very good if you treat the seals and connector with dielectric grease.
Tighten the fasteners to the specified torque and reconnect the battery. At this point, the job can be considered complete.
On paper, it does indeed look quite simple, but in practice a whole range of nuances may arise that significantly complicate it and require the removal of additional components to improve access to the valve. Therefore, before starting the job, carefully assess your abilities and skills, as well as the scope and specifics of the task ahead. If there is even the slightest doubt, it is better not to skimp and to go to a professional service centre.
Comments
0 comments